This Blue Pearl Granite Worktop had a thick layer of limescale build up around the tap. Removing it was a little more difficult than normal for me as the tap was set very close to the splash back. There was also a small amount of limescale on the splash back and in the drain flutes to the right. The limescale had been allowed to build up over several years, the tap was not leaking so this was just caused by the occupiers of the property not drying off the surface after use. The limescale had also affected the silicone sealant and this must be replaced as well.
WARNING ABOUT LIMESCALE BUILD UP
As well as being unsightly, leaving limescale to build up over a long period of time can do additional damage. In this example the limescale will not harm the granite, however, it has affected the silicone sealant. The limescale had been there for so long it had worked its way under the silicone sealant which then caused it to come away from the stone. Limescale will also build up on the silicone sealant and as you try to remove it you may well remove the silicone as well. On other natural stones like Marble and Limestone the limescale will eat into the stone causing even more damage.
APPLY A WET CLOTH TO THE AFFECTED AREAS
The solution for this surface is very safe and simple. It requires no special chemicals, and you should certainly never use any limescale removers on natural stone. The chemicals can contain acid which will dull the shine or in the case of Marble and Limestone cause even more damage.
To safely remove the limescale simply apply a wet cloth to the affected areas and leave it to loosen the limescale. Depending on how much limescale there is will determine how long it will take to soften the limescale. In most cases I leave the wet cloth in place for a minimum of 2 hours. There have been times where I have left the wet cloth in place overnight. Basically, the longer you leave it in place the easier it will be to remove it. So, this is not a quick fix, but you will not damage the Granite.

REMOVE THE SILICONE SEALANT
For this project the Granite Worktop and splash backs needed to be cleaned. And the silicone sealant needed to be changed. While the wet cloths were working on the limescale I was able to start working on the other areas.
REMOVE THE LIMESCALE
After about 6 hours I was able to easily remove the limescale using just a Stanley Knife blade. The difficult areas behind the tap were removed using a non-scratch cleaning pad, but I did leave the wet cloths in place in this area for a little longer. At this ealry stage after the limescale had been removed you can see the shine on the Granite returning
The limescale in the flutes scraped away with very little effort, but the limescale build up in this area was very light.

FINAL CLEAN AND SEAL
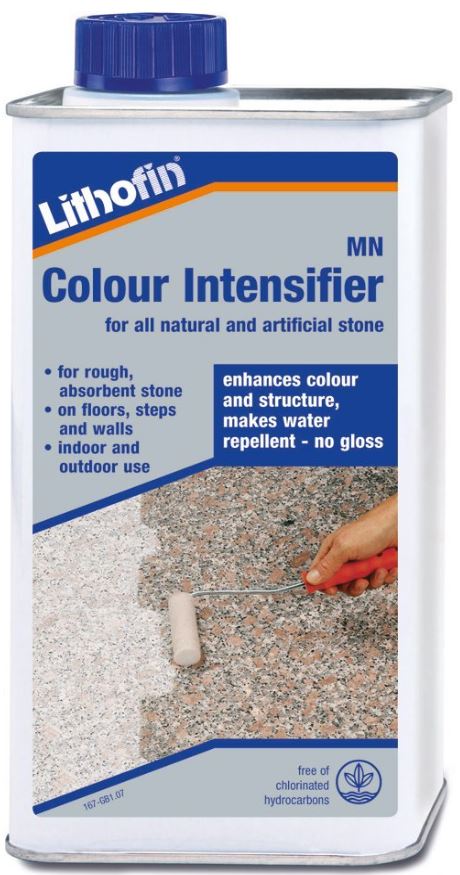
After a final clean the surfaces were dried and then I applied Lithofin Colour Intensifier. When applied this seal should be worked into the stone and as much of the excess seal should be removed. The Granite was then left to dry out overnight.


REPLACE THE SILICONE
The following day, the silicone sealant was replaced. I prefer to use Otto Seal S70 which in my opinion is the best silicone sealant for natural stone. As silicone sealants go, I find it very easy to apply and it is guaranteed not to stain the stone.

FINAL POLISH
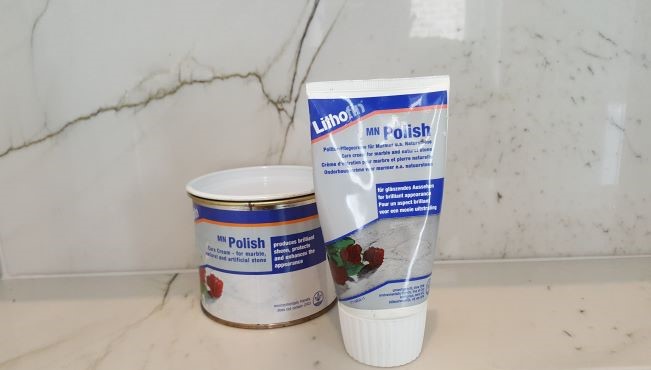
After 2 or 3 hours and the silicone has started to set, I apply a final polish. I prefer to use Lithofin MN Polish. It is very easy to apply, working in small areas. Using a clean cloth or paper towel apply a small amount of polish to the Granite Worktop, do not work it into the stone completely. Leave the polish to set for 20 to 30 seconds, and then with a second dry cloth or paper towel buff it to a shine. Then move on to the next area, you can use this polish once or twice a week to keep the granite looking nice.
THE COMPLETED WORKS

DRAIN FLUTES BEFORE & AFTER

FINAL THOUGHTS (MAINTENANCE)
To keep your Granite Worktop in its best condition, always wipe down the surface with a damp cloth, and then immediately buff it dry with a second cloth. This will avoid streaks on the surface. Keep the areas around the taps dry to stop the build up of limescale, also dry the drain flutes after use. If you start to see light water marks, leave a wet cloth on the area for about an hour and then buff it dry to remove them.


